When it comes to building visually captivating websites, one of the most powerful tools you can use is Elementor, the leading page builder for WordPress. Whether you’re a web designer or a business owner looking to enhance your online presence, Elementor gives you the flexibility and creativity to build beautiful, responsive websites with ease.
One feature that’s becoming increasingly popular is the Fancy Card Elementor Addon. This addon allows you to add highly customizable, eye-catching cards to your website, improving user experience and interaction. In this blog post, we’ll walk you through everything you need to know about creating stunning Fancy Cards using the Elementor addon, from installation to advanced customization tips.
What is the Fancy Card Elementor Addon?
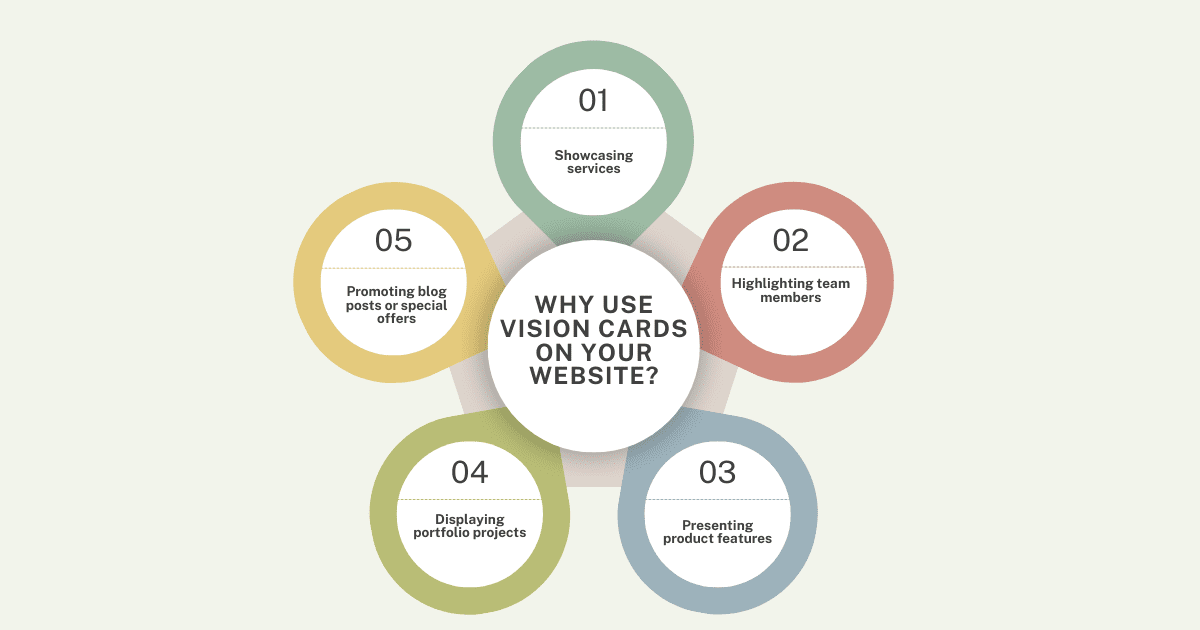
Before diving into the process of creating stunning Fancy Cards, let’s define what they are. A Fancy Card is a visual element used to showcase information in a compact and attractive way. It usually consists of a title, an image or icon, a brief description, and a call-to-action button. These cards are perfect for displaying services, team members, portfolio items, testimonials, or product features.
With the Fancy Card Elementor Addon, you can easily design and implement these cards into your website without needing to write any code. The addon provides a drag-and-drop interface with customization options, allowing you to create unique, stylish, and engaging cards that fit perfectly with your website’s design.
Why Use Fancy Cards in Elementor?

Before we jump into the tutorial, let’s explore why you should consider using Fancy Cards on your website:
- Enhanced User Experience: Fancy Cards are visually appealing and interactive. They make it easy for users to digest information in a short amount of time. This leads to better user engagement and retention.
- Mobile-Responsive Design: With Elementor’s responsive design features, Fancy Cards automatically adjust to various screen sizes, ensuring that your content looks great on both desktops and mobile devices.
- Easy to Customize: Whether you’re a beginner or an experienced designer, the Fancy Card Elementor Addon offers flexibility. From colors and typography to hover effects and animations, customization options are at your fingertips.
- Boost Conversion Rates: When designed correctly, Fancy Cards can direct users to important pages on your site, such as product pages, services, or blog posts. This leads to better call-to-action (CTA) conversions.
- Advanced Customizations: Advanced Customizations in the context of the Fancy Card Elementor Addon refer to the additional features and settings that allow you to take your card designs to the next level, making them more dynamic, engaging, and unique. These customizations go beyond basic settings like colors and typography and include elements that enhance user interaction and visual appeal. Here’s a deeper explanation.
Now that we’ve covered the why, let’s get into the how!
Step 1: Install the Fancy Card Elementor Addon

The first step to creating stunning Fancy Cards is installing the Elementor Addon. If you don’t already have the Turbo Addons plugin (or any similar Elementor widget addon), here’s how to get started:
- Install Elementor: If you haven’t already, make sure Elementor is installed on your WordPress site. You can download the free version from the WordPress repository, or purchase the Pro version for additional features.
- Install Turbo Addons: Head over to your WordPress dashboard. Navigate to Plugins > Add New, then search for Turbo Addons. Once you find the plugin, click “Install” and then “Activate.” If you’re using another Fancy Card widget addon, make sure to follow the same installation process.
- Access the Fancy Card Widget: After activation, you’ll be able to access the Fancy Card widget in the Elementor editor. You can drag and drop it into any section of your page.
Step 2: Add the Fancy Card Widget to Your Page
Once the Fancy Card widget is installed, follow these steps to add it to your page:
- Edit with Elementor: Go to the page where you want to add the Fancy Card and click on “Edit with Elementor.”
- Drag and Drop: On the left sidebar, find the Fancy Card widget under the Turbo Addons or your specific addon’s section. Drag it into the section of your page where you want the card to appear.
- Basic Structure: By default, the widget will display a basic Fancy Card with a title, description, and image. You’ll want to customize this card to align with your website’s design and content.
Step 3: Customize the Fancy Card
One of the most attractive features of the Fancy Card Elementor Addon is its wide range of customization options. You can tailor everything from the card layout to the typography, colors, and hover effects. Here’s how to customize it:
- Content Settings:
- Title: Click on the title field to add your text. Keep it short, clear, and compelling. This is where you can add the main message of the card.
- Image/Icon: Choose an image or icon that visually represents the content of the card. This could be a product photo, a team member’s picture, or an icon that matches the service or feature you’re highlighting.
- Description: Write a concise description that explains the content of the card. This is your chance to provide additional context and make the card more engaging.
- Button: Add a call-to-action button that links to a relevant page, such as a product page, service page, or blog post.
- Title: Click on the title field to add your text. Keep it short, clear, and compelling. This is where you can add the main message of the card.
- Style Settings:
- Card Layout: Customize the layout of the card, such as the position of the image and text. You can opt for a horizontal or vertical layout, depending on your design preference.
- Typography: Adjust the font style, size, and color for the title and description to match your site’s branding.
- Colors: Set the background color for the card, as well as the hover effects. Experiment with subtle hover transitions to make the card feel interactive.
- Borders and Shadows: Use borders and shadow effects to make your Fancy Card stand out. These effects can help make the card feel more elevated and stylish.
- Card Layout: Customize the layout of the card, such as the position of the image and text. You can opt for a horizontal or vertical layout, depending on your design preference.
- Advanced Customizations:
- Hover Effects: One of the key features of the Fancy Card Elementor Addon is the hover effect. Add subtle animations or change the background color when a user hovers over the card to enhance interactivity.
- Spacing and Padding: Adjust the margins and padding to make the card fit perfectly within your layout. This ensures that the card doesn’t feel cramped or misaligned with other elements on the page.
- Animations: You can add entrance animations for when the card first appears on the page. This gives your website a dynamic feel and draws attention to important content.
- Hover Effects: One of the key features of the Fancy Card Elementor Addon is the hover effect. Add subtle animations or change the background color when a user hovers over the card to enhance interactivity.
Step 4: Optimize Your Fancy Card for SEO
Now that you’ve designed a stunning Fancy Card, it’s time to optimize it for search engines. Here are a few SEO tips:
- Image Optimization: Make sure the images you use in the Fancy Card are optimized for SEO. Use descriptive filenames, alt text, and compress the images to reduce loading times.
- Use Relevant Keywords: Ensure that the text in the title, description, and button contains relevant keywords. For example, if your card is about a product, include the product’s name and its key features in the description.
- Internal Linking: If the Fancy Card points to a product or service page, make sure to include internal links on your website. This helps distribute link equity and makes it easier for search engines to crawl your site.
- Mobile Optimization: Since Google prioritizes mobile-first indexing, make sure your Fancy Cards are responsive and look great on mobile devices. Elementor automatically ensures this, but it’s always good to double-check.
Step 5: Test and Refine
After customizing your Fancy Card and optimizing it for SEO, it’s important to test it. Make sure it works seamlessly on different devices and screen sizes. Check that all links are functional, the card displays correctly, and the hover effects work smoothly.
Conclusion
Creating stunning Fancy Cards with the Elementor Addon is an easy and effective way to enhance your website’s design and user experience. With endless customization options, Fancy Cards allow you to display important information in a visually appealing and interactive format. Whether you’re showcasing products, team members, or services, these cards are a great way to engage your audience and drive conversions.
By following the steps outlined above, you can design beautiful Fancy Cards that align with your website’s branding, boost user engagement, and help you rank better on search engines. So, what are you waiting for? Get started today and take your website to the next level with the Fancy Card Elementor Addon!


